

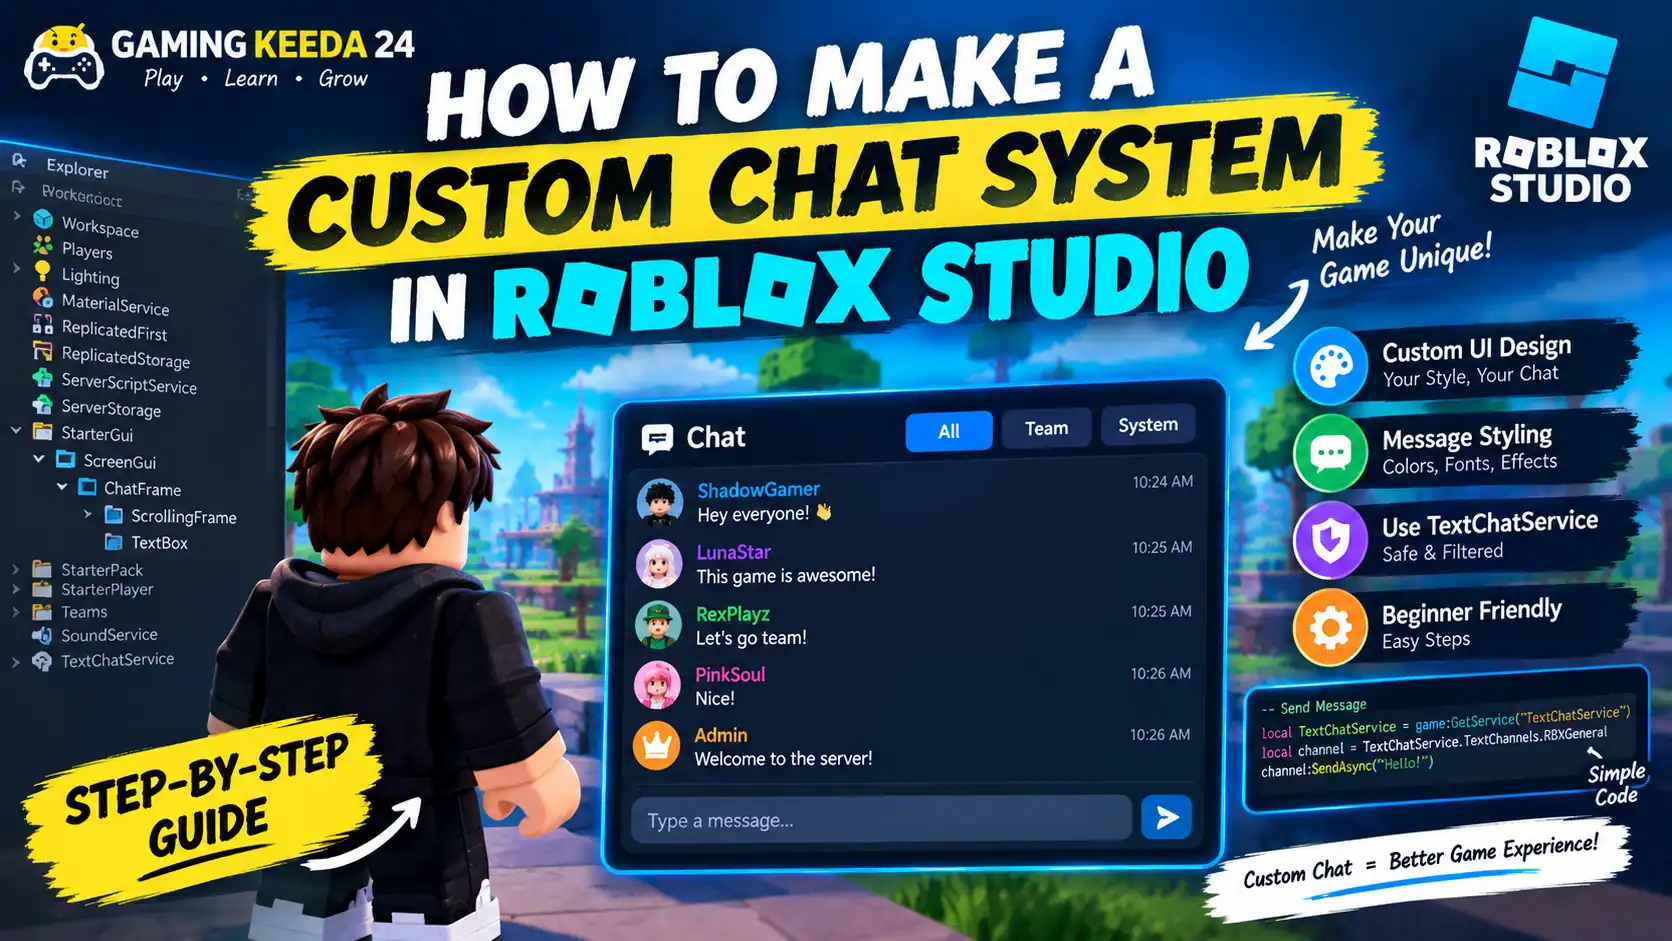
Want to create a custom chat system for your Roblox game? You can design your own chat window, change message colours, customise the input bar, and give your game a more professional look without building the entire messaging system from scratch.
At Gaming Keeda 24, we recommend using Roblox’s TextChatService because it supports chat filtering, moderation features, and custom chat interfaces.
What You Need Before Starting
- Roblox Studio installed on your PC.
- Basic knowledge of Roblox Studio and Lua scripting.
- A test experience where you can safely experiment with your chat UI.
Step 1: Use TextChatService
Open Roblox Studio and load your game.
In the Explorer panel, find TextChatService. Roblox uses this service to manage in-game text messages, chat channels, and message permissions.
For a custom interface, you can keep Roblox’s existing chat system working behind your own design.
Step 2: Create Your Custom Chat UI
In Explorer:
- Open
StarterGui. - Insert a
ScreenGui. - Add a
Framefor the chat window. - Add a
ScrollingFrameto display messages. - Add a
TextBoxwhere players can type messages. - Add a
LocalScriptto handle the interface.
You can customise the background, rounded corners, fonts, message spacing, and colours to match your game’s style.
Step 3: Connect the UI to Roblox Chat
Use the existing RBXGeneral channel to send messages through TextChatService.
For example, place this LocalScript inside your chat input TextBox:
local TextChatService = game:GetService("TextChatService")
local textBox = script.Parent

local channel = TextChatService
    :WaitForChild("TextChannels")
    :WaitForChild("RBXGeneral")

textBox.FocusLost:Connect(function(enterPressed)
    local message = textBox.Text

    if enterPressed and message:match("%S") then
        local success, err = pcall(function()
            channel:SendAsync(message)
        end)

        if not success then
            warn("Message could not be sent:", err)
        end

        textBox.Text = ""
    end
end)
This example sends a message when the player presses Enter. It does not create the complete chat window by itself; you still need to build the interface and connect incoming messages to your message list.
Important: Use TextChatService rather than an independent system that broadcasts unfiltered player messages. Roblox’s chat service handles filtering and relevant permissions. See the official custom chat UI tutorial for the full implementation.
Step 4: Display Incoming Messages
Use TextChatService.MessageReceived to listen for messages and add them to your custom chat window.
Your interface should display each message only once, because this event can fire for a locally sent message and again when its server-processed version arrives.
For the full example, follow Roblox’s official guide: Create a Custom Text Chat UI.
Recommended YouTube Tutorials
These videos can help you understand the visual design and scripting process.
1. How to Make Custom Chat on Roblox Studio
A beginner-friendly demonstration of custom chat styling and chat interface changes.
2. How to Make Custom Chat Tags in Roblox Studio
Useful if you want to add role labels or custom player tags to your chat.
The first video uses an older tutorial format, so verify its scripts against the current TextChatService documentation before copying them.
Can You Embed Instagram Posts?
Instagram posts about Roblox UI design can provide useful visual inspiration, but I could not verify a specific post worth recommending for this tutorial. You can explore examples here:
Find Roblox custom chat UI designs on Instagram
If you find a relevant public post, WordPress may let you embed it using the post’s URL or Instagram’s official embed code, depending on your site’s configuration.
Final Thoughts
A good custom Roblox chat system combines an attractive interface with Roblox’s built-in chat functionality. Start with a simple window, connect it to TextChatService, and then add features such as message styling, player tags, and channel tabs.
For the most reliable implementation, use the official Roblox Creator Hub documentation as your main reference.

